Five steps to achieving accurate fusion splicing of Fibre Optic Solutions

Need to extend the length of your Fibre Optic Solutions, join two fibre cables together or repair a buried cable that has been accidentally severed?

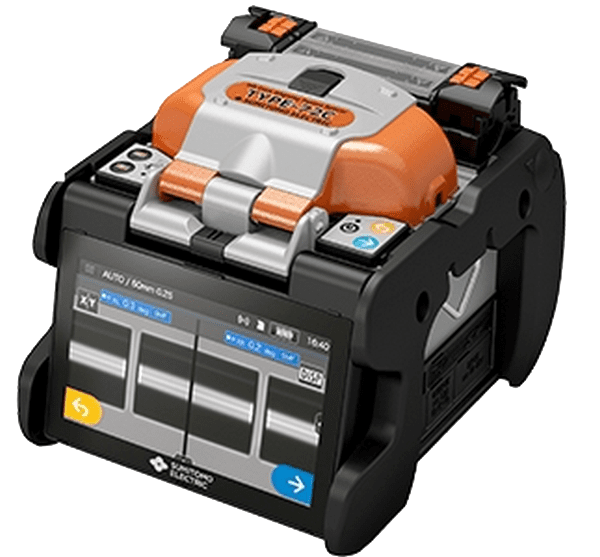
The industry leading Sumitomo Fusion Splicer is the fastest fusion splicer in the world, capable of reducing splicing and heat shrink time to 5 seconds and 9 seconds respectively.

The Sumitomo Fusion Splicer not only improves splicing performance and reliability but it has the most accurate loss estimation performance and most accurate fibre identification…

…helping ensure you can obtain an accurate, continuous and permanent connection between the fibres.

The 5 steps to achieving accurate fusion splicing

The Sumitomo T72C Splicer includes a smartphone-like high-resolution 5″ touchscreen for user-friendliness, so to prepare the fusion splicer you simply turn it on, select the menu button (the button with 3 horizontal lines in the top left-hand corner of screen) and input the type of fibre you’ll be splicing and the correct heat shrink size for your fibre.

Then follow these 5 simple steps to achieve accurate fusion splicing, each and every time you cleave and fusion splice your Fibre Optic Solutionss.

  1. Cleave scrap fibre for ARC test
  2. Conduct an ARC test on the scrap fibre
  3. Cleave the fibre you want to join together
  4. Fusion splice the fibres together
  5. Heat Shrink a fibre protection sleeve

Cleave the scrap fibre

Take a scrap piece of fibre, strip 30-50mm of jacket off the fibre, and clean the bare fibre with alcohol and wipe, taking care not to touch the bare fibre with your hands.

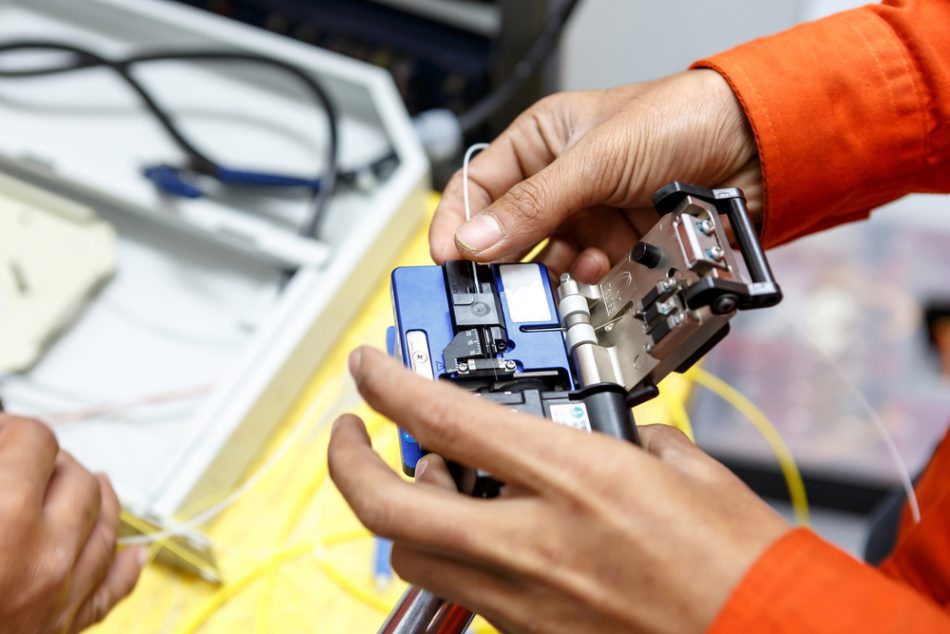
Open the main lid/clamp cover of the Sumitomo cleaver, the fibre clamp and the bin lid, and slide the blade holder towards front of the cleaver.

When you lay the fibre in the fibre holder groove make sure the jacket stops at correct fibre length for your splice protector, and that the bare fibre is stripped longer than the roller in the bin, but not touching the back wall of the bin .

To cleave the fibre, close fibre clamp, the main lid/clamp cover and the bin lid. When you slide the blade holder towards the back of the cleaver it will completely close the bin lid.

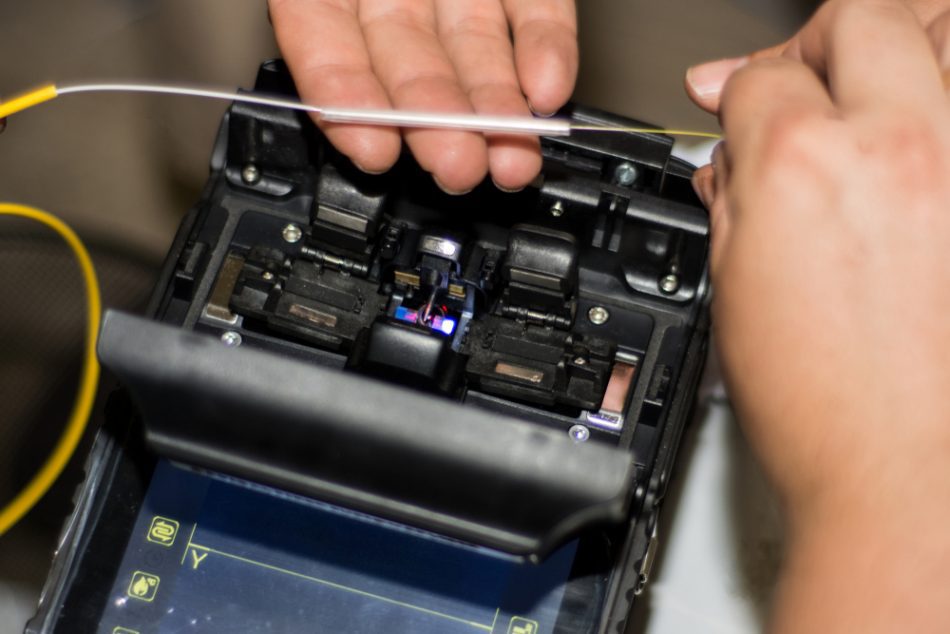
Your fibre is now cleaved. Open the main lid/clamp cover of the cleaver and the fibre clamp and place in one of the fibre clamps in the fusion splicer.

Make sure the cleaved end of the fibre doesn’t touch anything or you will damage the end and have to re-cleave it. The end of the fibre has to stop approx. halfway between the blue fibre guide and the centre of the electrodes.

Now repeat this process with your other scrap piece of fibre and then you’re ready to conduct the ARC test.

Conducting the arc test

Conduct an ARC test

Because temperature, humidity and pressure are constantly changing, using pieces of scrap fibre to conduct an ARC test first allows you to adjust your settings on the fibre splicer, ensuring minimum loss when you join your fibres.

On the Sumitomo Fusion Splicer push the Menu button and then select the Arc Test button. Once you’ve cleaved your scrap fibre you insert both pieces into the fibre clamps, shut the main lid/wind hood and the machine will perform the arc test. Push the Blue/Go button if it doesn’t automatically start

If the fusion splicer states anything except “Good ARC state” then re-cleave new pieces of scrap fibre and conduct another ARC test until it shows “Good ARC state”.

Fusion splice the fibres together

Achieved a good ARC result on your scrap fibre? You’re ready to fusion splice your “real” fibre together.

Repeat the cleaving process with your first piece of “real” fibre but remember to this time slide a splice protector onto the fibre BEFORE you cleave it. Place into the fibre clamp of the fusion splicer.

Once your first piece of “real” fibre is cleaved, cleave the other piece of fibre (this second piece DOESN’T need a splice protector) and place into the fibre clamp in the fusion splicer. The end of the fibre has to stop approx. halfway between the blue fibre guide and the centre of the electrodes.

Make sure the cleaved end of both fibres do not touch anything or you will have to re-cleave them. Shut the main lid/wind hood and the machine will perform the fusion splice. Push the Blue/Go button if it doesn’t automatically start.

If the Estimated loss that is shown on the screen is above your threshold or the image doesn’t look good, then recleave the ends of your fibres and perform the fusion splice again.

Once you’ve achieve estimated loss below your threshold and the image looks good, open the main lid/wind hood, and wait for the tension test to finish before opening the fibre clamps and removing the fibre from the fusion splicer.

Heat shrink the fibre protection sleeve

Making sure you don’t touch the bare fibre, slide the fusion splice protector over the bare piece of fibre with the join in it, keeping the bare fibre in the centre of the fusion splice protector.

Open the heater at the back of the fusion splicer, place the fibre in the right clamp, and while holding tension on the fibre, put the fibre in the left clamp.

The heater should automatically start. If it doesn’t, you will need to push on the heater button that corresponds to the heater that you are using.

Wait for several seconds until you hear the machine to beep and the light goes off. Remove the fibre with splice protector from the heater and place in the cooling stand for further cooling.

Congratulations, you’ve successfully fusion spliced your Fibre Optic Solutionss together!

Looking to purchase or hire the market-leading fusion splicer?

OSA carries a full range of fusion splicing equipment both for sale and for hire in their nationwide network of fully stocked warehouses, including Sumitomo fusion splicers, cleavers, tooling, and all of the necessary cleaning equipment.

Find out more.

CONTACT US

Get in touch for
a powerful
network solution